
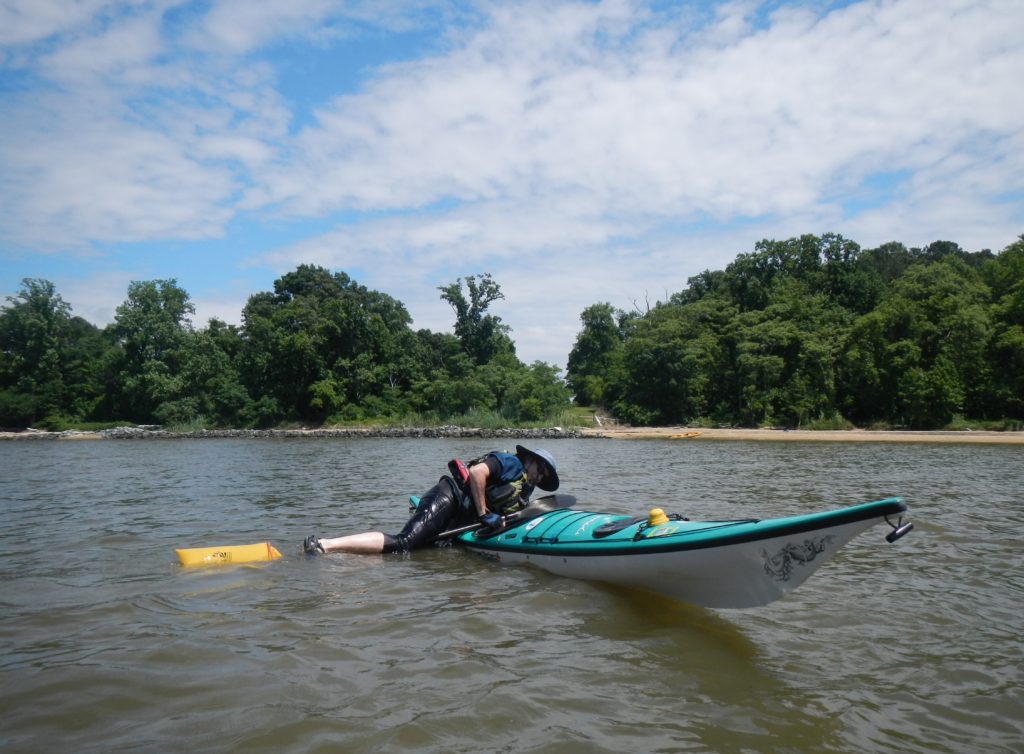
Every sea kayaker needs to be able to recover from a capsize in deep water without assistance. This is especially important if you are paddling alone, but even in group situations, it may be necessary to get back into the kayak without assistance. In calm water it may be easy to simply climb back in, but once you get into rougher water, it may be necessary to have a method that stabilizes the boat while you get back in. One method of doing this is the paddle float reentry.
Following a capsize; the paddler should remain calm and perform a wet exit while holding onto both the boat and paddle. Holding onto the kayak is critical. Even light winds can quickly separate the paddler from the boat a possible disaster especially if you are alone.
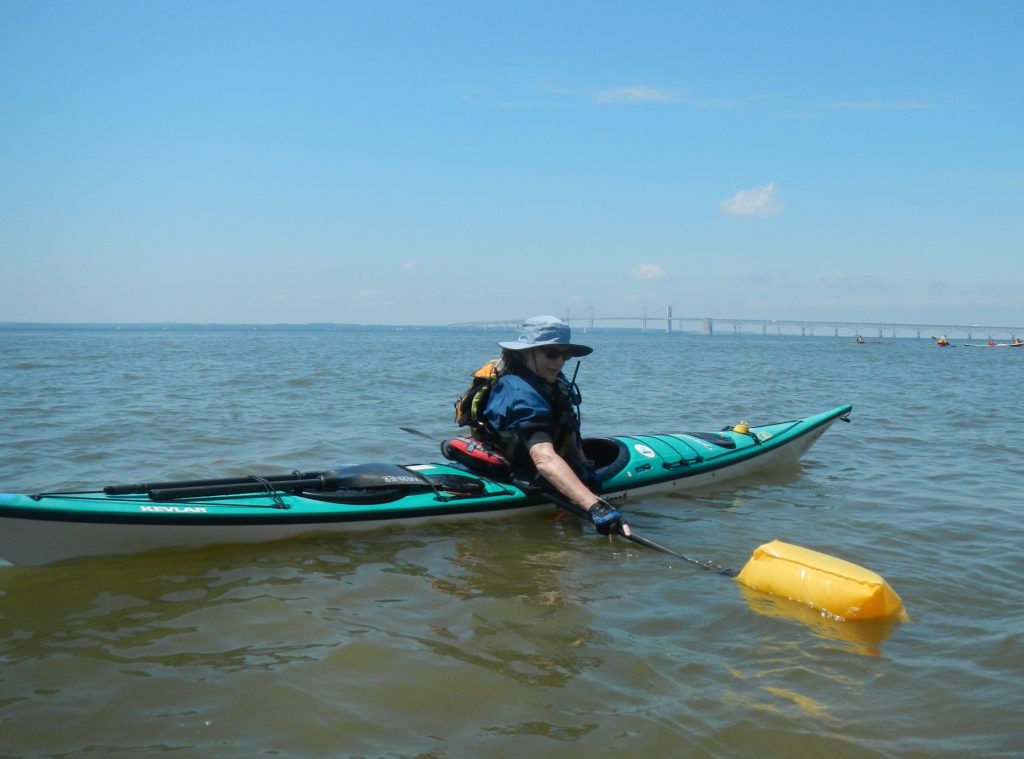
Paddle Floats
The purpose of the paddle float is to provide stability while reentering the boat. When inflated and attached to one end of the paddle, it serves as an outrigger. There are several types of paddle floats that can be used and each has pros and cons. The important thing it so select a float that will provide adequate buoyancy to support your weight in rough water. The two typical options are foam slabs that can be attached to the paddle or an inflatable sleeve that fits over the paddle. Foam floats are easy to position, but may not have adequate buoyancy for larger paddlers. Inflatable paddle floats can be either single or double chamber. Double chamber inflatable paddle floats tend to provide the greatest buoyance when both are inflated and redundancy in case one chamber fails. Regardless of the type of float, it should be accessible, but secure so that it doesn’t float away following a capsize and wet exit.
Test your gear. Make sure that the paddle float you select can be positioned over the blade of your paddle and secured. You should also make sure that you can’t sink your float with your body weight.
Getting Back into the Kayak
After you wet exit, make sure you are holding on to your boat and paddle. Leave the boat upside down, and put one leg into the cockpit to keep the boat with you. This keeps the boat secure while leaving your hands free to set up the paddle float.
- Retrieve your paddle float and secure it to one end of your paddle. It is critical that the float is secured to the paddle blade and that it cannot come loose during the reentry process. Inflatable paddle floats behave like balloons in wind and quickly vanish.
- Inflate the float. If you have a double chamber float, inflating both chambers can help secure the float to the paddle.
a. Note that the float must be large enough to provide adequate support for your body weight. - Turn your boat right side up
a. The easiest place to do this is at the cockpit. Hold your paddle under your arm and put one hand on each side of the cockpit. Push up on the side closest to you while pulling the far side towards you.
b. Do this quickly to minimize the amount of water that you scoop into the cockpit. - Position the paddle shaft behind the cockpit right next to the coaming and use one hand to keep the paddle shaft jammed against the coaming during the entire re-entry.
a. The paddle should be perpendicular to the boat, with the paddle float about 4 feet away from the side of the boat
b. Position yourself behind the paddle shaft. You are now ready to start getting back into your boat.
c. Make sure your feet are floating near the surface; you will need to swim or kick onto your back deck, not pull yourself up with your arms. - The goal of the first move is to get your belly centered on the back deck.
a. Let your legs float to the surface and kick or swim onto the back deck of your kayak. If necessary hook one knee or ankle over the shaft of the paddle to give yourself a boost up.
- Once you are on the back deck the next step is to get back into the cockpit, legs first.
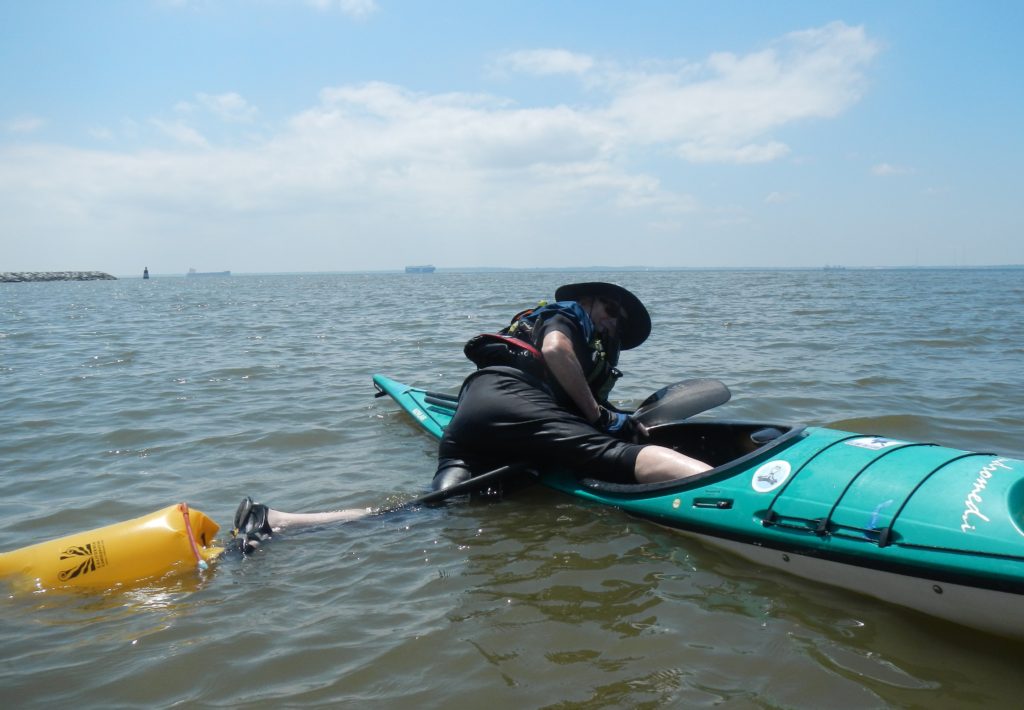
a. Always have a leg, an arm, or a hand on the paddle shaft to keep the paddle perpendicular to the boat. Allowing the float to collapse towards the boat reduces the effectiveness of the outrigger.
b. First move the leg closest to the bow of the boat into the cockpit keeping the other leg on the float to maintain the paddle position perpendicular to the boat.
c. Begin to rotate your body so that you start to face the stern of the boat. As you do this, reach around to grab the paddle shaft with your hand to support the paddle float and prevent the float from collapsing toward the boat when you put your second leg into the cockpit.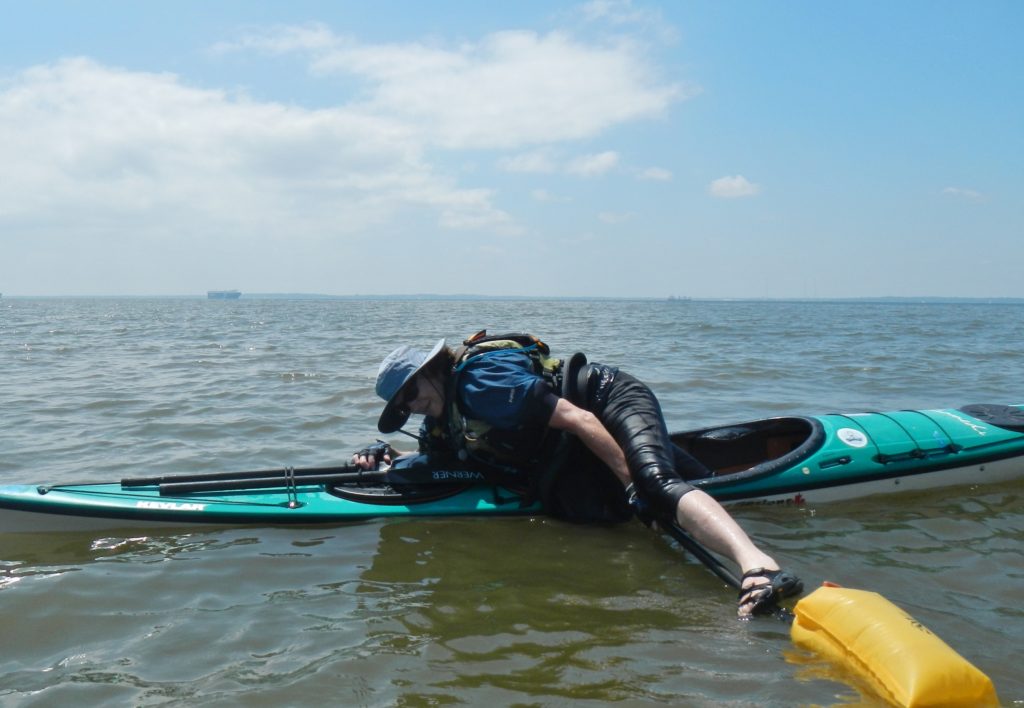
d. As you work your legs into the cockpit, keep your weight shifted toward the paddle float. If you look straight down, your head should be over the water on the side of the float.
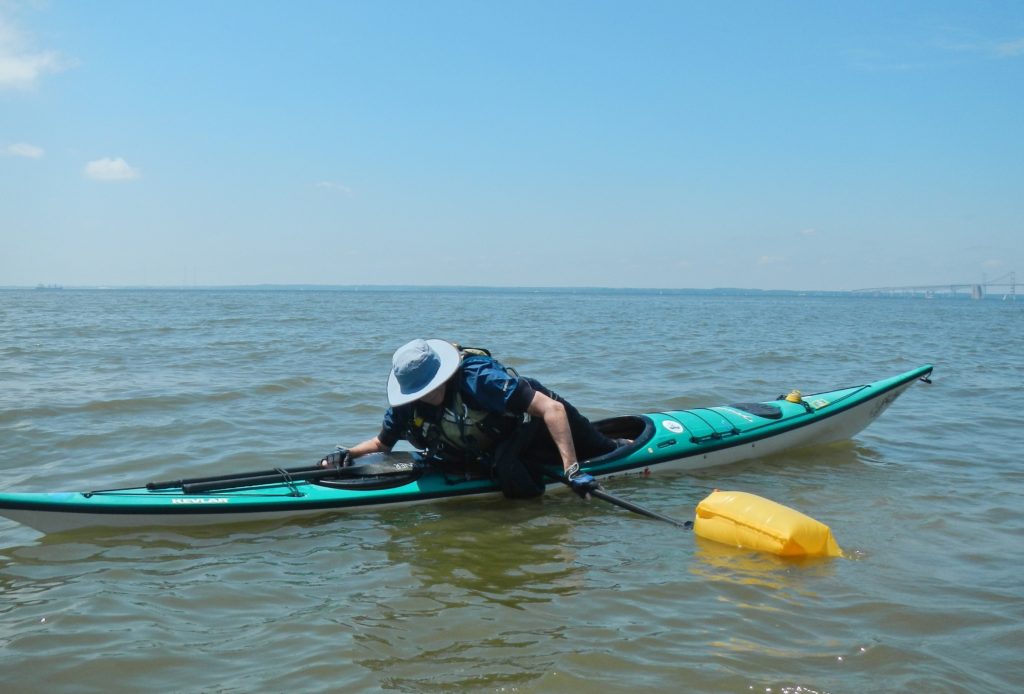
- When both legs are in the cockpit, you can rotate toward the paddle float, keeping your weight on the paddle shaft until you are sitting in the cockpit.
- Move the paddle from its position behind the cockpit to your lap. Keep the float on the paddle until you have pumped the cockpit, put your spray skirt back on, and feel stable in your boat.
Now that you are back in, you should make sure that you are able to remove and stow the paddle float and paddle without capsizing again. If in doubt, keeping the paddle float inflated and on the paddle may be a good idea. It is difficult to paddle with the float attached, but if it’s the only thing that prevents another capsize, keep it on. In this case, a call for help may be advisable.
Like all skills, the paddle float reentry requires practice, not only in flat water but in rougher conditions. Go out with friends and play with different techniques until you feel comfortable getting back in your boat.
Variations on the Basic Paddlefloat Reentry
Provided by Rick Wiebush (crosscurrentsseakayaking@gmail.com)
- Some kayaks have straps on the rear deck right behind the cockpit that are designed specifically to facilitate a paddle float reentry. After the paddle float is attached to one blade and inflated, the other blade can be placed snugly underneath the purposed straps. Very tight bungee lines or even the deck lines can also serve this purpose. This addresses the problem that many people have of holding the paddle shaft against the coaming (it’s hard to do) and keeping the paddle shaft perpendicular to the boat. The drawback to this approach is that you can create a lot of instability when you are back in your boat and reach behind you to try to pull the paddle back out from under the lines.
- Another variation involves the swimmer positioning him/herself right next to the cockpit and in front of the paddle float set up. From here, they jump up at an angle on to their back deck and pin the paddle shaft to the deck with their chest. They can then use their chest and one hand to hold the paddle shaft in place. Due to the angle of their body, their feet and legs are already pointing toward the front of the boat and can be quickly placed into the cockpit. The key phrase here though is “jump up onto their back deck”. Many people cannot do that and need to have a leg on the paddle shaft to give them an extra boost.
- Yet a third variation is the paddle float heel hook re-entry. For this method, the paddle shaft is either hand-held against the coaming or secured under rear deck straps/bungees/deck lines. The swimmer’s body positioning and movement is almost identical to the use of a heel hook for an assisted rescue i.e. the swimmer is next to his/her cockpit, face up, with feet pointing toward the bow. They then take their outside leg and place it into the cockpit and use whatever they can to get purchase with that foot. With one hand grabbing the far coaming, they then straighten their in-cockpit leg to lift themselves out of the water and slide their chest on to the back deck. From this position – and with one hand still on the paddle shaft – they roll toward the paddle float and back into the seat.